
Teardown Heavy Lifting Guide: All Objectives in 60s
Use this Teardown heavy lifting guide to move both safes, collect all three key cabinets, prepare a dump truck route, and escape before the alarm runs out.
Jump to
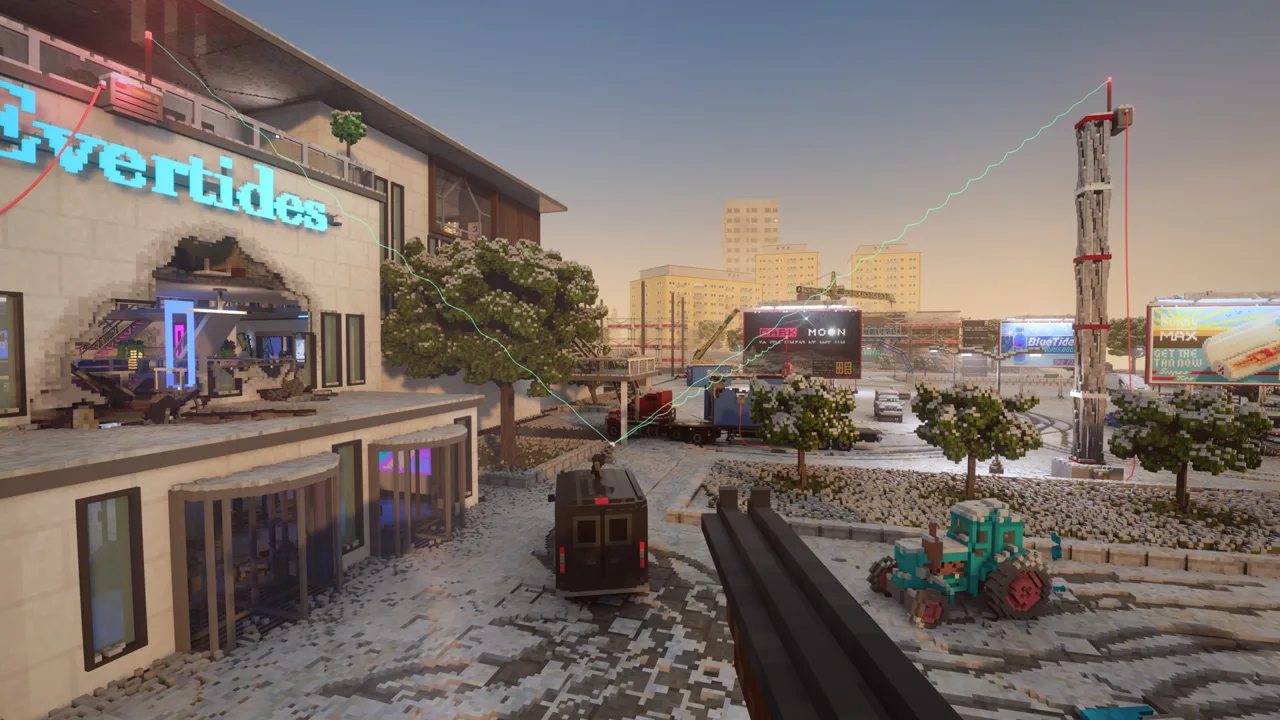
How to Complete Heavy Lifting With All Objectives
Two heavy safes can eat up your entire escape window if you leave the hauling until the alarm starts. This Teardown heavy lifting guide walks you through staging a dump truck beneath both safes, connecting the key cabinets with shortcuts, and finishing the heist within the default 60 seconds. Prepare the loading points first so your timed run ends with two short pushes and a drive to the boat.
Heavy Lifting takes place at Lee Chemicals. Delivering the office safe is required; the production safe and three key cabinets are optional objectives.
| Objective | Location | Required or optional |
|---|---|---|
| Office safe | Second floor of Lee’s office | Required |
| Production safe | Second floor of the north factory | Optional |
| Factory key cabinet | Second floor of the main factory | Optional |
| Storage key cabinet | Storage building | Optional |
| Switchgear station key cabinet | Back room of the switchgear station | Optional |
Breaking an alarm box or its wire starts the countdown. You can prepare your route beforehand, but moving a safe too far can break its connection and start the heist early.
For all five objectives, follow this order: switchgear station → storage → factory → production safe → office safe → dump truck → escape boat.
If you only want the required completion, concentrate your preparation on loading the office safe and clearing the drive to extraction.
Official page: Teardown (teardowngame.com)
Prepare Both Safes and Position the Dump Truck
The safes sit in buildings opposite each other. Use the alley between them as your loading area, with the dump truck positioned to catch both.
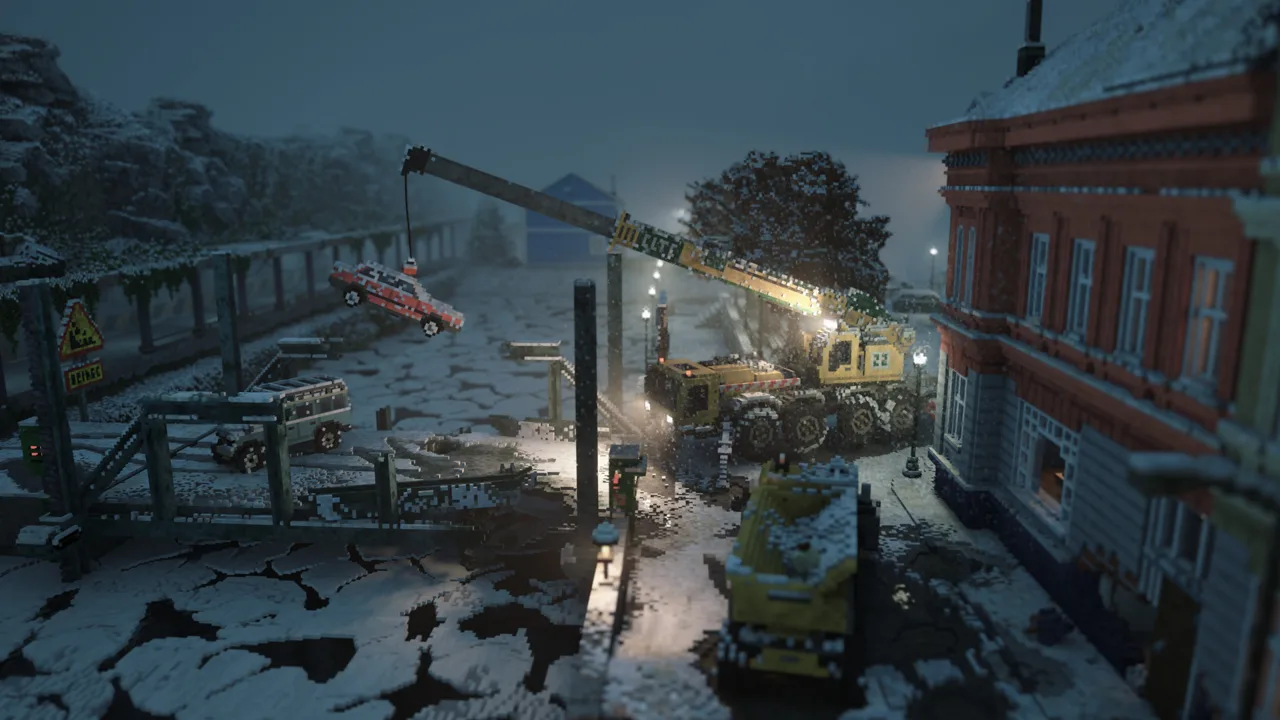 Image: Steam / Tuxedo Labs
Open the walls without breaking the alarm wires
- Go upstairs to the production safe and locate its alarm connection.
- Break through the wall beside it to create an opening toward the alley.
- Clear enough wall for the entire safe to pass through.
- Move the safe close to the opening while keeping it supported and its wire intact.
- Repeat the process at the office safe across the alley.
Quicksave before delicate demolition and repositioning. Save again after each successful setup change so an accidental alarm does not wipe out the preparation.
Conserve shotgun shells while opening these walls. You still need access to the key cabinets, and shots near alarm wires leave little room for error. Use the sledgehammer on materials it can break, and extinguish any fires you start.
Line up the truck bed
Reverse the dump truck into the alley beneath the openings. Position its bed to receive both safes, with the cab facing toward your getaway route.
Clear rubble from beneath the wheels and along the exit. Large chunks can make the truck bounce, complicating a drive with loose cargo.
Use detached doors to bridge small gaps between the wall openings and the truck bed. Place them so a safe slides toward the cargo area instead of dropping beside the vehicle. Keep your own jumping route clear as well.
Choose the dump truck for this setup. The semi’s longer trailer makes the final positioning harder, and its wide turns consume valuable escape time.
Connect the Three Key Cabinets With Shortcuts
Build the collection route before taking any cabinet. The goal is a continuous path from the switchgear station to the safes, with direct openings and plank ramps replacing detours.
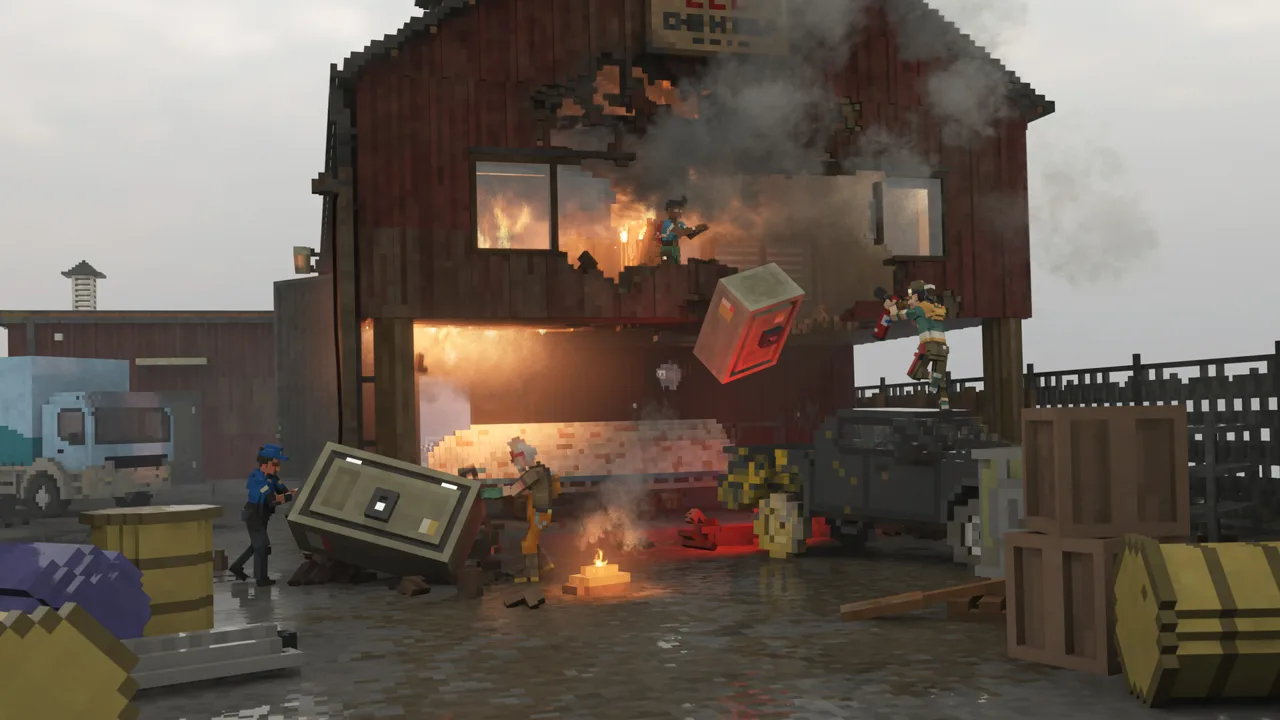 Image: Steam / Tuxedo Labs
Switchgear station to storage
- Open access to the key cabinet in the switchgear station’s back room.
- Make an opening in the wall to the right of the cabinet.
- Enter the adjoining room, turn right, and open the far-left wall toward the neighboring building.
- Break through that building’s facing wall to reach its stairs.
- Go upstairs and open the wall on the left where it meets the pipe crossing the water.
- Cross the pipe and open the storage building’s wall at the other end.
- Remove the floor directly above the storage key cabinet so you can drop down to collect it.
Walk the pipe crossing during preparation. Clear the entry and exit so neither requires squeezing around broken wall edges.
Storage to factory
Open the factory wall immediately to the right of its key cabinet, facing storage. Place a plank between the buildings, then open the storage wall at the other end.
Inside storage, add a plank ramp from the cabinet’s level back up to the connecting bridge. This gives you a direct climb after dropping in.
Continue from the factory cabinet along the walkway toward the production safe. Remove obstacles and add planks where uneven transitions catch your movement.
Before saving your finished setup, walk the whole route without collecting anything. Check every drop, ramp, opening, and jump between the safe buildings.
Execute the 60-Second Escape Run
Quicksave with the truck parked, both safes staged, and every shortcut ready. Start beside the switchgear station cabinet.
 Image: Steam / Tuxedo Labs
- Collect the switchgear station key cabinet. This begins the timed collection route.
- Run through your wall openings and climb the stairs. Head straight for the pipe crossing.
- Cross into storage. Drop through the floor opening and collect its cabinet.
- Climb the plank ramp. Cross the bridge into the factory.
- Collect the factory key cabinet. Follow the walkway toward the production safe.
- Push the production safe into the truck bed. Get behind it and use a lifting, rolling motion to move it through the opening.
- Jump across to the office safe. Push it into the same truck bed.
- Drop down and enter the dump truck. Drive along your cleared route to the escape boat.
- Bring both safes into the marked delivery circle. Position the cargo area inside the zone, then enter the escape boat once the objectives register.
When moving either safe, work from directly behind it. Lift and roll it forward instead of spending the countdown dragging it sideways.
At extraction, watch the objective indicators. Reaching the boat with the truck’s cab does not necessarily put the safes inside the delivery area; the cargo itself needs to reach the circle.
Fix the Problems That Cost Escape Time
A safe lands beside the truck: Reload and adjust the bed position. Close the gap with a detached door, then check that the entire safe has a clear path into the cargo area.
The alarm starts during preparation: Inspect the wire before moving the safe again. Leave more support beneath it, and remove nearby wall sections in smaller pieces.
You get stuck after collecting the storage cabinet: Rework the ramp leading back to the bridge. Walk up it from the exact spot where you collect the cabinet, and clear broken flooring from its base.
The truck bounces or catches on debris: Clear the alley and driving line before starting another attempt. Include the turn out of the loading area in that cleanup.
Both safes reach the boat, but an objective stays incomplete: Pull the truck farther into the marked zone so the safes in its bed reach the delivery circle. Leave yourself a clear path from the driver’s door to the escape boat.
Continue with
 Teardown Missions Guide: Campaign Routes and Heist TipsUse our Teardown missions guide to plan heists, move safes, complete optional objectives, handle robots, and clear the campaign with smarter escape routes.
Popular pages

Teardown Beginner Guide: Plan Heists and Escape Faster
Use this Teardown beginner guide to plan heists, build shortcuts, manage alarms, find valuables, and upgrade tools. Plan your next escape with confidence.
Teardown Art Vandals Guide: Missions, Tools and Access
Explore Teardown Art Vandals, the free five-mission campaign. Learn how to start, meet Freya Woo, review every objective, and plan museum heists on PC.
Teardown How To Add Mods Non Steam: PC And Console Guide
Teardown how to add mods non steam: explore console Mod Browser options, free Mod Packs, and PC modding tools for custom maps, vehicles, tools, and modes.
Teardown Multiplayer: Co-Op, Modes, Mods, and Setup
Teardown multiplayer supports up to 12 players. Explore co-op heists, competitive modes, compatible mods, console support, and tips for smoother play.
Join the community
Official channels for news, updates and player help: