
Teardown Missions Guide: Campaign Routes and Heist Tips
Use our Teardown missions guide to plan heists, move safes, complete optional objectives, handle robots, and clear the campaign with smarter escape routes.
Jump to
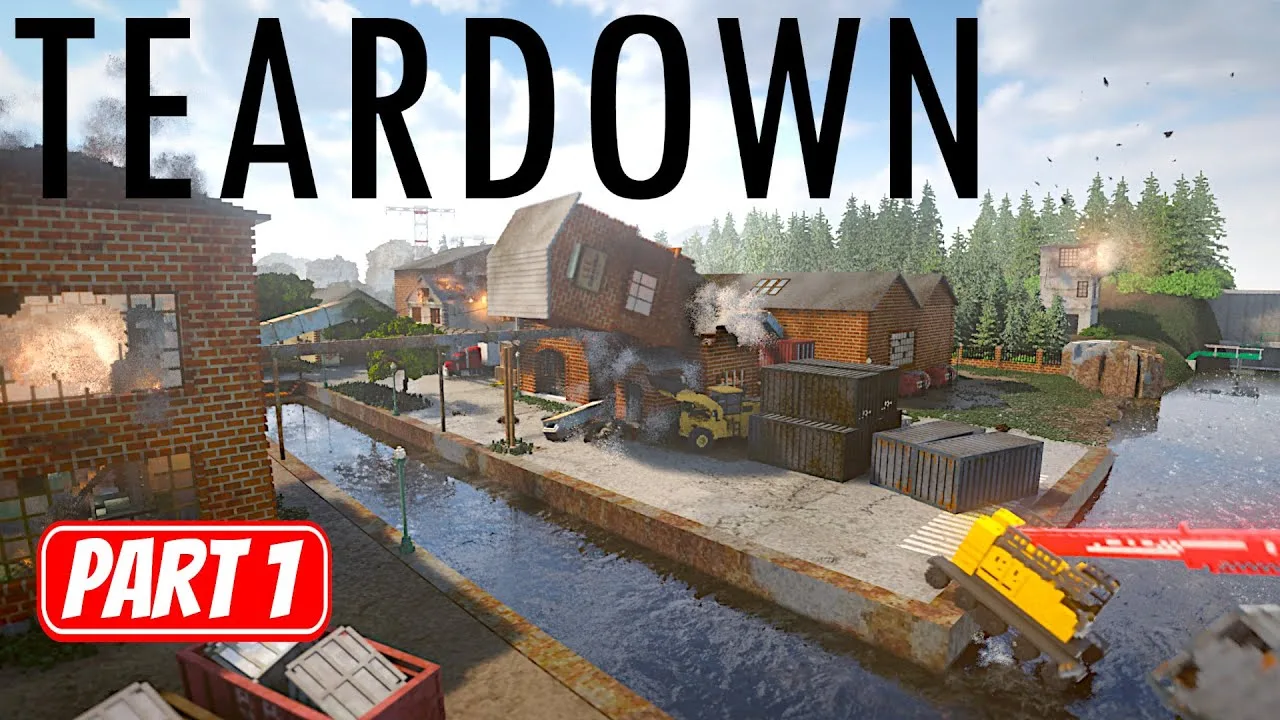
Start Here: The Opening Demolition and Lee Chemicals
A perfect heist can fall apart when a safe catches on a doorway. This Teardown missions guide walks through the campaign’s demolition jobs, timed thefts, robot encounters, and escape missions. Prepare your shortcuts before touching an alarmed target so the countdown goes toward collecting objectives and getting out.
Complete the yellow objectives to meet a mission’s requirements, then use the escape vehicle. Optional objectives add score, helping you reach new ranks and unlock tools sooner.
Many heists give you 60 seconds after an alarm triggers, but other missions use different rules. Read the briefing before preparing: wires, fire, moisture, explosions, and enemy detection require different plans.
The Old Building Problem
- Inspect the building and identify its supports.
- Use nearby propane tanks and construction vehicles to break down the structure.
- Remove anything still standing above the required height, including stubborn chimney sections.
- Return to the escape van after the demolition objective clears.
If a structure refuses to collapse, inspect every remaining connection. Walls, pipes, and adjoining structures can keep apparently unsupported sections in place.
The Lee Computers
- Locate the three computers before committing to a route.
- Use neighboring buildings and rooftops to reach upper floors.
- Break through windows or ceilings where the normal entrance is awkward.
- Collect the computers and return to the van.
Fire is the security concern here. Extinguish flames before the fire alert fills; starting a fire does not automatically end the mission.
Valuables to look for: roof spaces, a vending machine, and the outdoor trash bin. Search during preparation to fund later equipment upgrades.
The login devices
This introduces wired targets and the familiar timed escape.
- Find all three devices and trace their alarm wires.
- Open access holes without damaging the wires or alarm boxes.
- Choose a collection order that ends near your escape.
- Rehearse the route without taking the devices.
- Quicksave your prepared layout, then collect the targets and leave.
Use the spray can to mark confusing turns. Widen any opening that catches your character during rehearsal.
Official page: Teardown (teardowngame.com)
Marina Jobs and Your First Villa Gordon Heists
The next jobs introduce vehicle theft, heavy cargo, and targets you can reposition before starting the countdown. Inspect the whole alarm arrangement: a target attached to a movable boat or transporter presents different options from one wired to a fixed wall.
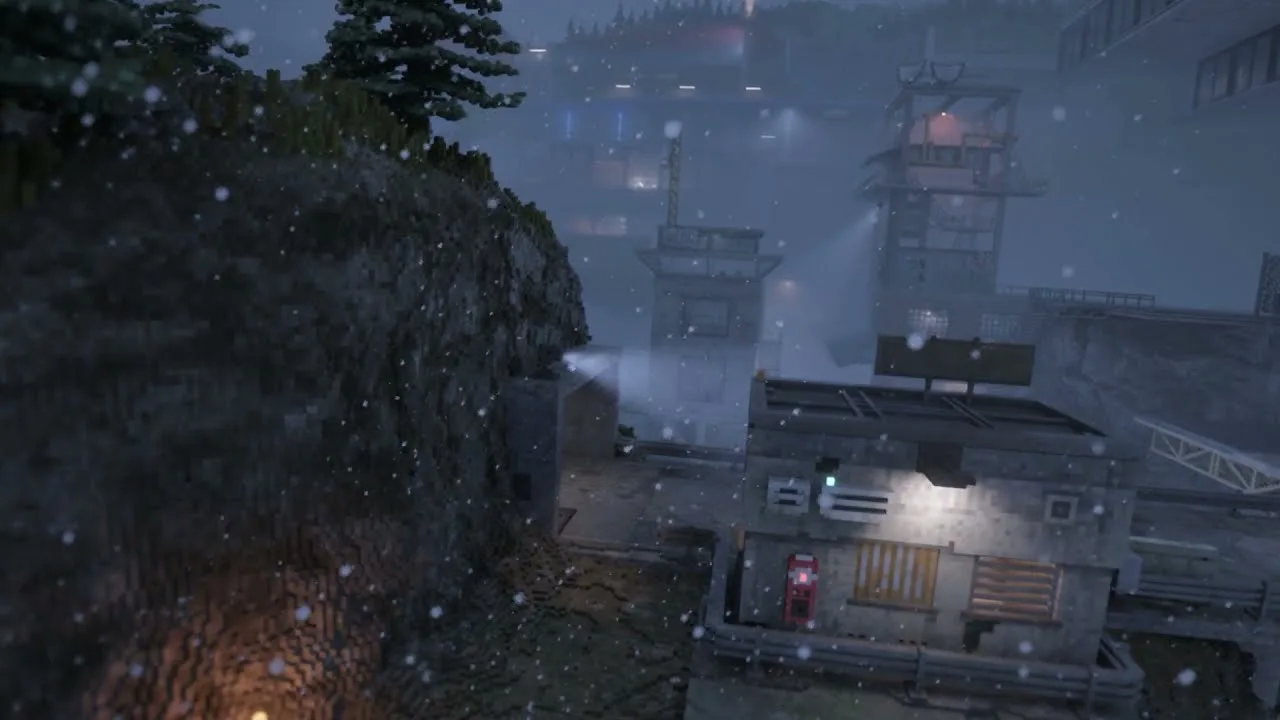
Making space
- Open a path from the required safe to the water.
- Push, roll, or lift it outside using the available vehicles.
- Dispose of the additional safe for the optional objective.
- Demolish the designated cabin below its height limit.
- Leave using the escape boat.
Use a crane or lifting vehicle for an elevated safe. Position it before breaking the wall so the load has somewhere to go.
For the tool-free challenge, use vehicles and physical manipulation throughout the mission. Avoid even an accidental tool swing.
Classic Cars
- Locate both required cars and the optional documents and tools.
- Move transporters and boats closer to the extraction area where their alarm arrangements allow it.
- Prepare ramps and clear the vehicle unloading paths.
- Rehearse the documents pickup.
- Trigger the alarm, collect the loose objectives, and deliver the cars.
Inspect vehicle controls before improvising a lift. Lowering a transporter’s loading ramp can save considerable preparation.
The GPS devices
- Find the log files and every marked GPS device.
- Identify boats that can move while keeping their alarm connections intact.
- Bring those boats together to shorten the collection route.
- Position a usable boat for the final trip to extraction.
- Collect the devices and log files, then escape.
Keep the escape approach open. Crowding every boat against the same dock can leave you climbing over your own preparation.
The Car Wash
The required objective accepts any three of the six cars; the remaining cars are optional.
- Inspect which cars have fixed alarm connections.
- Move transportable cars toward water before starting the timed portion.
- Check the nearby pools as disposal locations.
- Clear approaches for the remaining cars.
- Dump the cars and verify each objective registers before leaving.
Avoid sending several cars into the same cramped pool entrance. A submerged vehicle can obstruct the next delivery.
Heavy lifting
- Prepare access to the required safe and the optional second safe.
- Position a truck or lifting vehicle to receive them.
- Clear the transport route all the way to extraction.
- Open direct paths to the optional keycards.
- Start the alarm, load the safes, collect the keycards, and deliver the cargo.
Use planks to secure cargo, then test the attachment before committing. A safe dragging beneath a truck can stop the entire run.
The Tower
- Inspect the tower’s supports and connecting pipes.
- Use explosives or vehicles to damage the structural connections.
- Cut remaining metal connections with the blowtorch.
- Check the objective before returning to the van.
Look around the site for additional explosives before spending your carried ammunition.
Paintings, Insurance Jobs, and the Power Outage
These jobs demand more travel between targets. Prepare ramps, vehicle changes, and delivery areas with the same care as the pickups.

Fine Arts
- Locate the six paintings; four satisfy the required objective.
- Start with a painting whose stairs or isolated location would otherwise force a return trip.
- Build ramps between elevations and open direct exits.
- Park vehicles along the route for longer crossings.
- Collect the paintings and finish at the escape boat.
Test both entering and exiting each car. Leave room beside the driver’s door so a wall or debris pile does not trap your character.
Covert chaos
- Leave the protected food court untouched during preparation.
- Position explosives and the available military vehicles.
- Group vehicles so changing weapons requires little travel.
- Use the escape vehicle to begin the fireworks window.
- Demolish the food court, aiming for the optional destruction thresholds before escaping.
The required destruction target is 50%, with optional targets at 70% and 90%. Work on structural connections rather than spreading damage across unrelated surfaces.
Art Return
- Locate the four paintings.
- Keep the extinguisher ready as you approach their buildings.
- Control the lightning-started fires while opening access.
- Collect each painting and prepare transport before approaching the next location.
- Return to extraction.
If the fire alarm starts the countdown, switch immediately to completing the remaining pickups and escaping.
Tool up
- Scout all six tools.
- Bring movable targets closer where their alarm connections permit.
- Build ramps for awkward changes in height.
- Prepare transport for the longer stretches.
- Collect the required four tools and the additional two before leaving.
Run the final approach to the escape boat during preparation. A small gap at the end can consume the seconds saved everywhere else.
Insurance Fraud
- Inspect the cars and their alarm attachments.
- Use trucks, cables, and lifting equipment to reposition damaged vehicles.
- Stage movable cars close to the escape truck.
- Clear a separate approach for each remaining delivery.
- Trigger the alarm and load the vehicles.
Keep delivered cars clear of the next car’s path. Check that each delivery registers before abandoning it.
The Speed Deal
The required lap time is 30 seconds or less. Optional objectives demand 25 seconds or less and 20 seconds or less.
- Learn the checkpoint order.
- Practice braking and turning before chasing the optional times.
- Inspect the checkpoint frames and their connections.
- If repositioning checkpoint equipment, preserve its wiring.
- Pass the checkpoints in order and finish the lap.
The BlueTide Computers
- Explore Hollowrock Island before collecting any alarmed computer.
- Open shortcuts through neighboring buildings.
- Connect different elevations with plank ramps.
- Prepare a boat for the longer waterfront crossing.
- Collect the computers along your marked route and return to extraction.
Valuables to look for: the mansion’s basement vault. Reach the vault through its ventilation route near the cave below the mansion; use planks to climb to the opening instead of spending explosives on its walls.
A Wet Affair
Moisture sensors change the preparation: exposing a safe to rain can trigger the alarm.
- Find the safes and plan covered transport.
- Use an enclosed trailer or sheltered container to gather them.
- Position the loads beside the intended disposal point.
- Prepare the remaining large safe separately if it cannot fit with the others.
- Start the timed portion by getting the safes wet, then finish the disposal and escape.
Check every safe individually. A container tipping toward the water does not guarantee everything inside falls out.
Power Outage
- Transport the mission bomb to the marked placement area.
- Locate every electrical target.
- Move portable targets into useful positions.
- Open sightlines for rocket shots at distant equipment.
- Detonate the bomb, destroy the remaining targets, and escape.
Test difficult rocket angles before starting the full run.
Motivational Reminder
- Locate the marked propane tanks.
- Carefully free movable tanks from their supports.
- Gather them into groups or position them where you can shoot them from your route.
- Prepare sightlines to tanks left on rooftops or other elevated locations.
- Trigger the explosions and head for the escape boat.
Make each target visible before starting. Searching for a tank behind an intact wall wastes the advantage of ranged weapons.
Finish Part One: Dishes, Flooding, and the Chase
 Image: PlayStation Store
An Assortment of Dishes
This hacking mission has no countdown, but the security helicopter arrives after the first hack.
- Prepare access to the exposed dishes and communication terminals.
- Open passages between buildings while keeping useful overhead cover.
- Start with an exposed target, then reach another before the helicopter arrives.
- Move between covered positions as the helicopter changes position.
- Hack the remaining required devices and escape.
For the challenge that requires avoiding helicopter hits, prioritize sheltered approaches. Open small holes that let you reach devices from inside buildings, and check windows and skylights before stopping to hack.
Do not spend ammunition trying to destroy the helicopter.
Flooding
- Locate the documents across the flooded chemical plant.
- Prepare access to each document before triggering an alarm.
- Build plank connections across broken routes.
- Position boats for crossings that would otherwise require swimming.
- Collect the documents and return to the escape boat before the alarm countdown expires.
For the dry-run achievement, prepare a separate route that avoids water throughout setup and execution.
Return for all optional documents separately if combining both goals makes the route too restrictive.
The Chase
- Move toward the marked escape through Frustrum.
- Break openings through buildings when they shorten the route.
- Use buildings and bridge structures to interrupt the helicopter’s view.
- Keep moving toward extraction.
For the vehicle-restriction achievement, leave the starting boat and complete the journey on foot without entering another vehicle.
Begin Part Two: Robots, Kegs, and Shipping Logs
Roborazzi
- Explore Quilez Security and locate the robot subjects.
- Prepare an exit before approaching an armed robot.
- Photograph moving robots from positions that give you room to track them.
- Finish the remaining photos and leave.
The secret ingredients
- Locate the marked ingredients.
- Prepare access while watching nearby robots.
- Collect the ingredients.
- Use explosions to knock robots off balance when you need room to move.
- Extinguish fires and return to extraction.
Keep the extinguisher accessible. Fighting robots with explosives can create a second problem when the fire alert begins filling.
The BlueTide shortage
- Locate the kegs throughout Frustrum.
- Prepare a truck and clear its loading approach.
- Secure kegs with planks or cables.
- Transport them while watching the tornadoes.
- Deliver the required cargo and any optional kegs before escaping.
Load and secure each delivery before fetching another. Loose cargo is vulnerable to the storm.
The shipping logs
- Scout the mall’s different floors.
- Locate the marked logs before triggering an alarm.
- Open direct passages between the remaining log locations.
- Prepare ramps and drops that connect the floors.
- Start the alarm, collect the logs, and return to the correct escape vehicle.
The Island Missions: Alarms, Barrels, and Sabotage
Your usual arsenal is restricted during the island trip. Search the environment for additional tools, explosives, ladders, and vehicles.
The alarm system
- Locate the communication stations and the two main security terminals.
- Use existing ladders and collected planks to prepare access.
- Carefully lower elevated equipment where its connections allow it.
- Include both main security terminals in your route.
- Hack the stations and terminals within the countdown.
Moving the goods
- Locate the ingredient barrels.
- Clear a path from each barrel to the water.
- Choose boats with space and barriers that help retain cargo.
- Secure barrels before crossing.
- Deliver the loads to extraction.
Use the island’s propane tanks and available explosives to open blocked routes. Keep the objective barrels away from the blast.
Havoc in paradise
- Locate the production targets.
- Prepare covered approaches before committing to exposed crossings.
- Destroy equipment from sheltered positions where possible.
- Move between targets while monitoring the helicopter.
- Return to the boat after completing the required sabotage.
Check the opposite side of a target building for an approach from below. You can sometimes reach machinery without standing on an exposed upper floor.
Elena’s revenge
- Locate the yacht.
- Use available boats to damage its hull.
- Add explosive damage where needed.
- Continue until the sinking objective registers, then escape.
Return to Sweden: Cargo, Antennas, and Droid Abduction
Truckload of trouble
- Locate the vehicle sections and spare tires.
- Clear the road between the waterfront and the escape truck.
- Use a crane or lifting vehicle to retrieve the large sections.
- Attach the lighter cargo with cables.
- Deliver everything to the extraction area.
Clear broken vehicles and other obstructions before carrying a heavy section through town.
Ornament ordeal
- Watch the robots’ patrol routes.
- Approach decorations from floors or roofs outside those routes.
- Open holes beneath hanging decorations to bring them down.
- Prepare sufficiently wide exits for the bulky pieces.
- Carry the decorations back to extraction.
For the unseen challenge, complete the mission without being spotted by robots.
The Quilez tools
- Locate the tools across both sides of the facility.
- Plan the collection order around their elevations.
- Open floor holes and place ramps to shorten vertical travel.
- Reposition targets within the limits of their alarm wires.
- Collect the tools and return through your prepared route.
Test drops before starting. Falling past the intended floor creates a climb that the countdown leaves little room to recover.
Connecting the dots
- Drive the communications vehicle into a position that connects with three antennas.
- Check the remaining two antennas for distance and line-of-sight problems.
- Prepare vehicles beneath them before disconnecting their alarmed equipment.
- Bring the remaining antennas toward the communications vehicle.
- Adjust their positions until the connections register.
Keep the line between antenna and receiver clear. Being close to the vehicle is only part of the solution.
The pawn shop
- Locate the marked items throughout Frustrum.
- Prepare a route across the river.
- Position vehicles for longer roads and open direct building exits.
- Collect the items and escape.
Rehearse the pickups themselves. Passing the correct building does not help if you miss the item inside.
The droid abduction
- Locate the vault doors and laser equipment.
- Position reflectors to direct the laser toward a vault.
- Open the door and prepare the route back to the capture area.
- Lure the released robot along that route.
- Repeat for the remaining optional robots.
Quicksave after preparing a useful laser arrangement. Keep the capture path clear before releasing each armed droid.
Malice in Woonderland
- Inspect the attractions and their neon signs.
- Weaken structural supports while preserving the signs.
- Position explosives and prepare firing angles for the remaining demolition.
- Trigger the alarm when the route is ready.
- Bring each marked target below its required height.
Keep an eye on the signs during preparation: breaking one starts the alarm even if you are still working on another attraction.
Handle with care
- Locate the nitroglycerin containers.
- Prepare gentle routes down stairs and across different elevations.
- Watch robot patrols before moving a container.
- Distract robots or remove sections of floor to interrupt pursuit.
- Carry the containers to extraction without hard impacts.
Handle the nitroglycerin away from active gunfire. Robots shooting toward you can turn the cargo into an immediate hazard.
The Final Missions and Additional Campaigns
Droid dismount
- Locate the patrolling robots on Hollowrock Island.
- Use the tank and other equipment to push them toward water.
- Clear obstacles between robots and the shoreline.
- Dump the robots into the sea.
- Finish the optional targets and escape.
Use the terrain to funnel robots toward the edge. Check that each disposal registers before moving to the next patrol.
The final diversion
- Inspect the Truxterminator’s path through Cullington.
- Remove signs, trees, vehicles, and building sections from its approach.
- Redirect it toward the cliff and ocean.
- Keep clearing ahead of its trigger mechanism.
- Guide it into the water without letting it detonate in town.
Work ahead of the vehicle instead of waiting for an obstruction to reach its front. Use controlled demolition to create clearance without leaving another debris pile in its path.
More missions after the main story
The base campaign supports solo play and online co-op with up to 12 players. In co-op, assign targets before anyone starts an alarm, count down together, and agree on the escape plan.
| Campaign | Missions | Setting and mechanics |
|---|---|---|
| Base campaign | 40 | Demolition, timed heists, cargo transport, robots, and chase missions |
| Art Vandals | 5 | Tilläggaryd heists featuring the Jackhammer |
| The Greenwash Gambit | 14 | Four maps with space equipment and zero-gravity mechanics |
Art Vandals is a free mini campaign. Time Campers takes the destruction to the Wild West, while Folkrace adds racing and destructive vehicle challenges in Granriket.
The Greenwash Gambit supports co-op with up to 12 players following its August 18, 2026 update. Everyone joining that DLC session needs to own it; organize a group of 2–4 players for its recommended co-op experience.
Continue with
 Teardown Heavy Lifting Guide: All Objectives in 60sUse this Teardown heavy lifting guide to move both safes, collect all three key cabinets, prepare a dump truck route, and escape before the alarm runs out.
Continue exploring
Teardown All Valuables: Hidden Loot and Cash Guide
Find Teardown all valuables locations, uncover hidden cash and gold, and work toward 200 collectibles with practical routes through the campaign's maps.
Teardown Steam Workshop: Mods, Maps, and How to Play
Explore Teardown Steam Workshop mods, maps, and tools. Learn how to use the mod manager, check multiplayer support, and keep destruction running smoothly.
Join the community
Official channels for news, updates and player help: