
Teardown Beginner Guide: Plan Heists and Escape Faster
Use this Teardown beginner guide to plan heists, build shortcuts, manage alarms, find valuables, and upgrade tools. Plan your next escape with confidence.
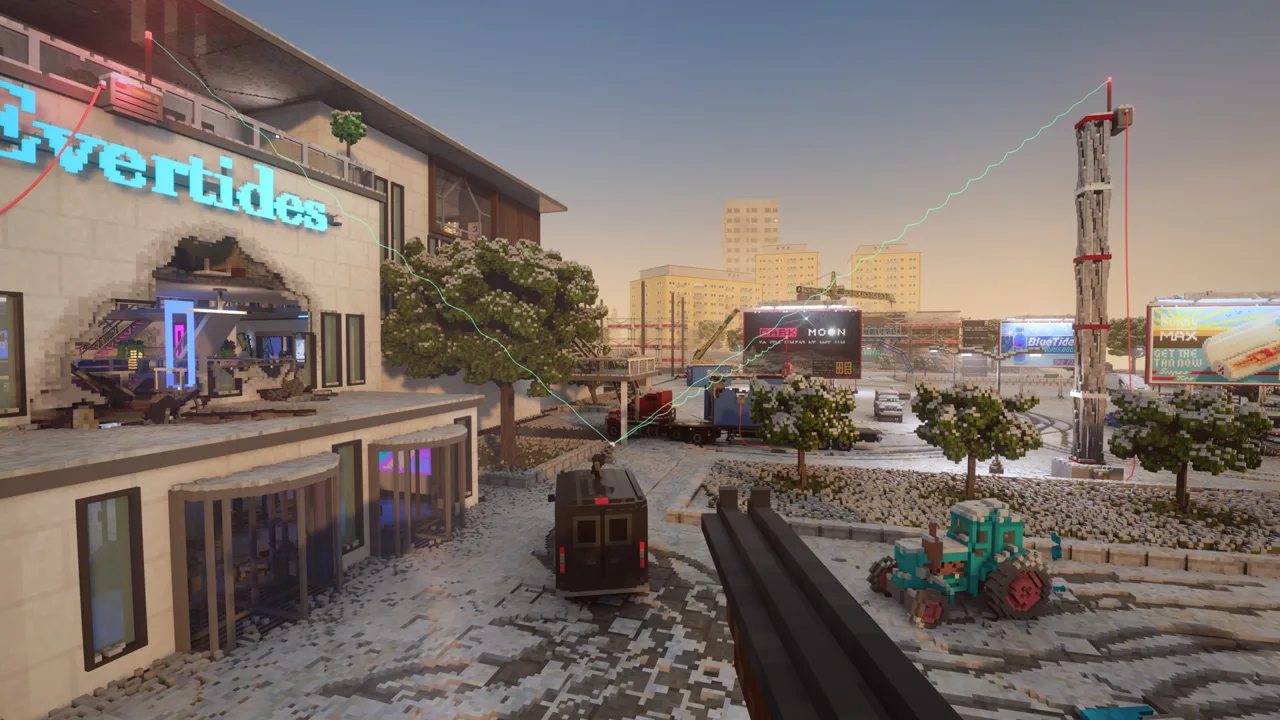
Early Game: Learn What Each Job Actually Requires
A hole through the right wall can save your entire heist. This Teardown beginner guide walks you through preparing shortcuts, handling alarms, and collecting targets before your escape window closes. Start by learning what each mission requires, because demolition jobs and timed thefts demand different preparation.
1. Get your tools and restore power
At Löckelle Teardown Services, follow the opening objectives: collect the extinguisher, spray can, and sledgehammer, replace the fuse outside, then return to the computer to read your messages and accept work.
Use this opening area to practice grabbing objects and pulling doors open. On PC, the introductory controls include WASD for movement, Tab for the map, and E for interactions. Check the controls menu for your current bindings before experimenting with throwing objects or operating machinery.
Learn to recognize the tool you have equipped. Accidentally using an explosive when you meant to swing the sledgehammer can undo a carefully prepared route.
2. Follow the objective indicator during demolition
The opening demolition job asks you to bring a building below a height limit. Watch the remaining-height indicator as you work, and inspect whatever still protrudes above the threshold.
Use the sledgehammer on the wooden sections, then turn to nearby construction vehicles and propane tanks for tougher parts such as the chimney. Repeated hammer swings will not break materials the tool cannot damage.
If a structure refuses to fall, look beyond its foundations. Pipes, cables, and connections to neighboring structures can keep sections attached. Walk around the building and inspect those remaining connections before spending more explosives.
Official page: Teardown (teardowngame.com)
Alarms: Know Exactly What Starts the Countdown
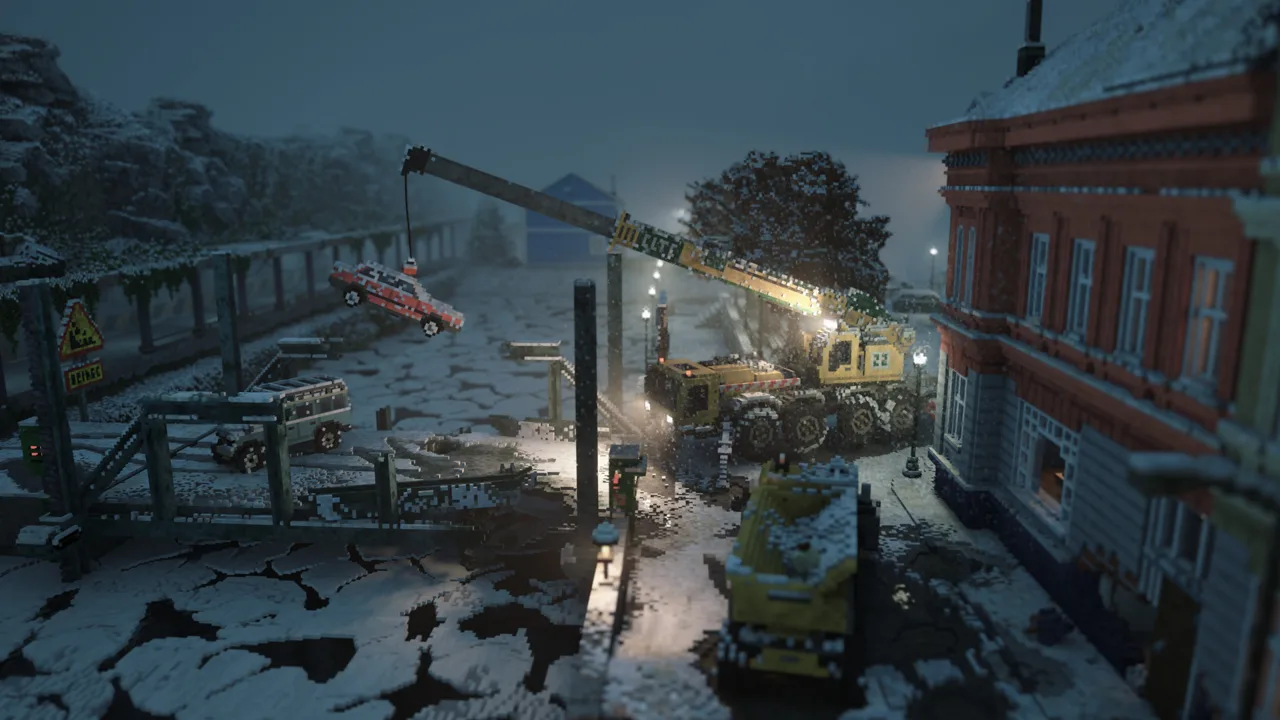 Image: Steam / Tuxedo Labs
3. Read the security conditions before touching targets
Many standard single-player heists give you 60 seconds after an alarm triggers, with preparation time available beforehand. That timer is not a rule for every mission.
The early computer theft at Lee Chemicals allows you to collect its computers without triggering a wired security countdown. The later employee login device mission introduces alarm boxes and wires. Treat each briefing as a fresh set of rules, even when you recognize the map.
Before moving a target, inspect:
- The wire attached to it.
- Where that wire connects.
- Whether the alarm hardware moves with a vehicle or platform.
- Whether the mission also warns about fire or other sensors.
Breaking an alarm box or its wire triggers the alarm. Smashing the security hardware is therefore no shortcut around the timer.
4. Put out fires while they are small
Large fires can trigger fire alarms in missions that use them. An explosion can open your route and start a blaze at the same time, so check the area immediately afterward.
Equip the extinguisher and deal with flames before continuing your setup. Keep explosives away from parts of the map you still need to cross, especially wooden interiors and narrow exits.
A fire alarm does not automatically mean an instant mission failure. It can start the escape countdown, leaving you to complete the remaining work under pressure. Avoid creating that pressure while you are still arranging vehicles or searching buildings.
Heist Routes: Prepare Every Transition
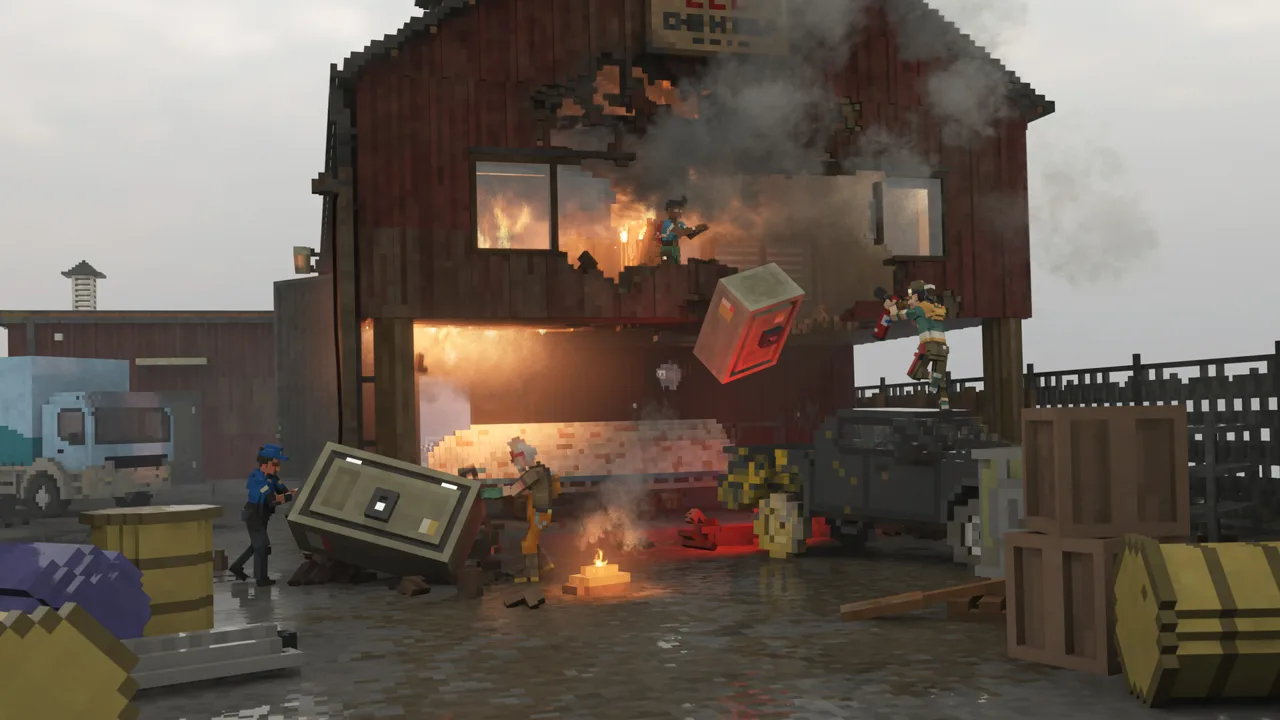 Image: Steam / Tuxedo Labs
5. Scout every target and work backward from the exit
Visit all required targets before choosing an order. Check their elevations, entrances, nearby vehicles, and distance from the designated escape vehicle.
Then trace a route backward from extraction. Leave a nearby target for the end when that produces a shorter final run. Consider starting beside an awkward upstairs target so you can collect it immediately and move downhill.
For example, if a target sits above the waterfront, inspect whether you can leave through a window and land near a waiting boat. Test the landing and boarding position before depending on them during the countdown.
Required objectives come first. Add optional targets once you have a workable escape route.
6. Build shortcuts you can cross reliably
Open walls between adjacent rooms, remove window obstructions, and create exits that point toward your next stop. Make each opening wide enough to pass through without catching on the edges.
Use the spray can to mark turns, target rooms, and exits. A visible arrow at a confusing doorway can prevent you from losing seconds searching for the correct room.
Walk the complete route before collecting the first alarmed target. Pay particular attention to:
- Climbing through windows.
- Moving between different floor heights.
- Getting into and out of vehicles.
- Crossing debris near doorways.
- Reaching the actual escape interaction.
A jump that takes several attempts during preparation needs more work before you build a timed run around it.
7. Quicksave your finished setup
Save after completing useful preparation, then save again before attempting the heist. That gives you a prepared state to reload when a jump fails, a vehicle gets stuck, or you discover a slower section.
After a failed attempt, fix the specific delay. Widen the opening you caught on, move the car closer, or replace the awkward jump with a ramp. Then save the improved setup.
Use quicksave to experiment within the mission. Avoid assuming that a prepared scene will remain available after switching maps or leaving the session.
Tools and Destruction: Match the Material
 Image: Steam / Tuxedo Labs
8. Stop using the sledgehammer when the material resists it
Teardown’s materials respond differently to your tools. Glass and wood are easy to break with the sledgehammer; brick and concrete require other equipment.
Use this comparison to understand why an attack is failing:
| Material | Sledgehammer | Blowtorch | Guns | Explosives |
|---|---|---|---|---|
| Glass, wood, plastic | Yes | Yes | Yes | Yes |
| Plaster | Yes | No | Yes | Yes |
| Concrete, brick | No | No | Yes | Yes |
| Weak Metal | No | Yes | Yes | Yes |
| Hard Masonry, Hard Metal | No | No | No | Yes |
Rock and Heavy Metal resist all four tool categories shown here. Look for another entrance or a breakable surrounding surface when those materials block your path.
Your campaign arsenal expands through progression, so use available vehicles and environmental explosives when you have not unlocked the tool you want.
9. Preserve ammunition for the job itself
A shotgun can clear access through tougher walls, but using every shell during preparation can leave you short when the timed sequence begins.
Before spending ammunition, inspect nearby doors, windows, softer wall sections, and machinery. A construction vehicle can create an opening without consuming your carried explosives.
Make deliberate cuts around targets. Blowing apart an entire room can damage valuables, bury the objective, or destroy the floor you intended to use. For a theft mission, remove enough material to reach and collect the target cleanly.
Vehicles and Planks: Move the Work Closer
10. Inspect the whole alarm connection before transporting targets
Some targets can move closer to extraction while their alarm connection stays intact.
Quicksave, inspect both ends of the wire, and move the supporting vehicle carefully. Stop if your plan would stretch the connection beyond its reach or break the hardware.
Use this preparation to reduce travel during the countdown. Position a transporter near the delivery area, lower its ramp, and clear the unloading path before starting the timed sequence.
For heavy objects, inspect cranes, loaders, and trucks around the map. Check the displayed vehicle controls and practice operating the arm or loading mechanism before bringing it near your target.
11. Use planks for access and cargo support
Once unlocked, planks let you build ramps, bridge gaps, and connect objects. Use them to replace awkward climbs or create a direct path between nearby structures.
Keep ramps gradual enough to walk up smoothly. Test the entire crossing, including where the plank meets the ground or window ledge. A steep ramp that catches your movement can waste the time you hoped to save.
Planks can also help secure objects to vehicles. Attach cargo, then test the connection with a short drive before depending on it for a timed delivery.
Use debris when it already provides useful elevation. Stack movable objects to reach a window or roof, but check that the arrangement stays stable when you climb it.
Valuables and Upgrades: Make Exploration Count
12. Search during preparation
Hidden valuables provide cash for tool upgrades. Search while the alarm is inactive, when you can afford to inspect rooms instead of racing between objectives.
Look beyond objects sitting in plain sight. Check attics, cabinets, spaces beneath stairs, floorboards, and suspicious wall compartments. Explore buildings away from the immediate mission route, too.
Collected valuables generally stay collected across later visits to the same map.
Collect an exposed valuable before using explosives nearby. Destruction can make it harder to reach or damage the object you intended to take.
13. Spend money on the limitation you keep encountering
Tool unlocks and cash upgrades serve different purposes. Completing objectives raises your score and advances your rank, while valuables fund upgrades to equipment you have acquired.
Use optional objectives to earn additional score when you can include them in a reliable route. If they make the mission overwhelming, complete the required work and return to the extra challenge later.
At the computer, inspect upgrades for the tools you actually use. Review the available plank upgrades when crossings limit your routes. Add ammunition when demolition preparation leaves you short. Expand blowtorch fuel when cutting through metal repeatedly interrupts your setup.
The sledgehammer has no upgrades, so keep exploring for tools and alternate methods when it reaches its limits.
Practice, Co-op, and Settings
14. Use Sandbox to learn machinery and experiment
The base campaign contains 40 missions, with objectives that give your destruction a specific purpose. Sandbox lets you experiment with tools, vehicles, and structures.
Use it to practice driving construction equipment, placing planks, and handling explosives. Try machinery controls somewhere you can afford to break the vehicle.
On PC, distinguish Global mods from Content mods. Enabled Global mods can affect campaign and Sandbox gameplay, while Content mods launch their own playable experiences. Check what you have enabled when returning to the campaign after experimenting.
15. Assign targets before starting a co-op heist
PC multiplayer supports up to 12 players, including the full base campaign in co-op. Divide the work before anyone touches an alarmed objective.
Give each player specific targets and an escape route. Call out who handles optional objectives, who transports heavy cargo, and where vehicles will wait. Start on a shared countdown after everyone reaches position.
Keep prepared lanes clear of parked vehicles and loose cargo. Test shared pickups so the driver and passengers know where to meet, then check that every required target has an owner.
16. Adjust the camera and graphics before a long session
Teardown supports both first-person and third-person views following the Version 1.6 Character Update. Try both perspectives to find the view you prefer.
On PC, the November 3, 2026 update added NVIDIA DLSS and AMD FSR support under Options → Graphics → Upscaling. Try the available options to balance image clarity and frame rate on your hardware.
Upscaling renders at a lower resolution and reconstructs the output image; gains depend on your hardware and settings. Compare the result while moving around a level, then test it during destruction before settling on your settings.
Continue exploring
Teardown Sandbox Guide: Tools, Mods, and Multiplayer
Explore Teardown sandbox with unlimited resources, destructive tools, custom maps, and multiplayer. Learn how to unlock levels and start experimenting now.
Teardown All Valuables: Hidden Loot and Cash Guide
Find Teardown all valuables locations, uncover hidden cash and gold, and work toward 200 collectibles with practical routes through the campaign's maps.
Join the community
Official channels for news, updates and player help: